Installation
Install the Precompiled Package (Linux/MacOS)
Ensure that you have set the environment variable
PIP_PULLto your Gemfury tokenexport PIP_PULL=your gemfury token # Example (not a valid token): # export PIP_PULL=jGxWW-4qKlz8ARZOhJgG9BIVuxsU9231
Create a virtual environment
python3 -m venv autonluenv
source autonluenv/bin/activate
AutoNLU currently supports Python versions 3.6, 3.7, and 3.8.
Install the package
pip install --upgrade pip
pip install autonlu --extra-index-url=https://${PIP_PULL}:@pypi.fury.io/deepopinion
Install the Precompiled Package (Windows)
We assume you already have a working Python version installed.
Ensure that you have set the environment variable
PIP_PULLto your Gemfury tokensetx PIP_PULL your_gemfury_token # Example (not a valid token): # setx PIP_PULL jGxWW-4qKlz8ARZOhJgG9BIVuxsU9231
Restart the command prompt for the change to take effect
Create a virtual environment
python -m venv autonluenv
autonluenv/Scripts/activate.bat
AutoNLU currently supports Python versions 3.6, 3.7, and 3.8.
Install the appropriate pyTorch version if you want to use CUDA / GPU acceleration following https://pytorch.org/get-started/ . Preferably install the latest stable version of pyTorch with the highest CUDA version available. We recommend installing pyTorch with
pip.Install AutoNLU
python -m pip install --upgrade pip
python -m pip install autonlu --extra-index-url=https://%PIP_PULL%:@pypi.fury.io/deepopinion
Install from Source (if you have access)
Clone the AutoNLU repository:
git clone [email protected]:deepopinion/autonlu.git
Ensure that you have set the environment variable
PIP_PULLto your Gemfury tokenexport PIP_PULL=your gemfury token # Example (not a valid token): # export PIP_PULL=jGxWW-4qKlz8ARZOhJgG9BIVuxsU9231
Create a virtual environment
python3.8 -m venv autonluenv
source autonluenv/bin/activate
AutoNLU currently supports Python versions 3.6, 3.7, and 3.8.
Install the package
pip install --upgrade pip
pip install -e . --extra-index-url=https://${PIP_PULL}:@pypi.fury.io/deepopinion
Install additional, non-essential requirements (e.g. Sphinx to build the documentation, pytest to run unit tests etc.)
pip install -r requirements.txt
Install in Google Colab
To be able to use GPU acceleration, select “Change runtime type” from the “Runtime” menu and set it from
NonetoGPU.To ensure that you have set the environment variable
PIP_PULLto your Gemfury token, enter the following in a cell and execute:# This is not a valid token. Replace it with your own %env PIP_PULL=jGxWW-4qKlz8ARZOhJgG9BIVuxsU9xxx
Now you can install AutoNLU by typing the following in a cell and execute:
! pip install autonlu --extra-index-url=https://${PIP_PULL}:@pypi.fury.io/deepopinionYou are done!
Building the Documenation
This only works if you have source code access.
To be able to build the documentation, you have to have pandoc
installed.
Ubuntu/Debian:
sudo apt install pandoc
Arch:
sudo pacman -S pandoc
- You can then build the documentation using
cd documentation
make html
cd ..
The documentation can then be found at documentation/build/index.html
Before First Use
Ensure that you have set the environment variable DO_PRODUCT_KEY
to your product key (the authentication bearer token of your Studio
account)
The easiest way to get the product key is to use autonlu.get_product_key():
import autonlu
do_product_key = autonlu.get_product_key()  # Will prompt for username and password
print(do_product_key)
Setting the environment variable from inside a script or notebook can be achieved with:
import os
os.environ["DO_PRODUCT_KEY"] = "your product key"
Be aware that the tokens are only valid for around 10 days and have to
be acquired again. Alternatively, one can call autonlu.login()
to temporarily set the product key for the current Python process when
providing the username and password.
Running Tests
This only works if you have source code access.
Check if everything works correctly by running the unit tests. AutoNLU has two categories of tests: Short tests and long tests.
The short tests are “normal” unit tests that check the general functionality of AutoNLU and also train a few small models on toy datasets to check whether the system is not crashing. Depending on the used hardware, the short tests should finish in a few minutes.
The long tests include training of full models on real data and test whether the achieved accuracy meets our standards of quality. Depending on the hardware, these tests will take multiple hours to finish.
Not all tests will be run if no CUDA capable GPU is found.
To run all tests:
pytest autonlu/tests
To only run the short tests:
pytest autonlu/tests/short_tests
To only run the long tests:
pytest autonlu/tests/long_tests
Running the Tutorials
To be able to run the tutorials for yourself, you have to install Jupyter:
pip install jupyter
If you have access to the source code, you can change to the tutorials folder and start the Jupyter notebook server.
cd tutorials
jupyter notebook
If you don’t have access to the source code, you can download the tutorials here: https://autonlu.com/tutorials.zip
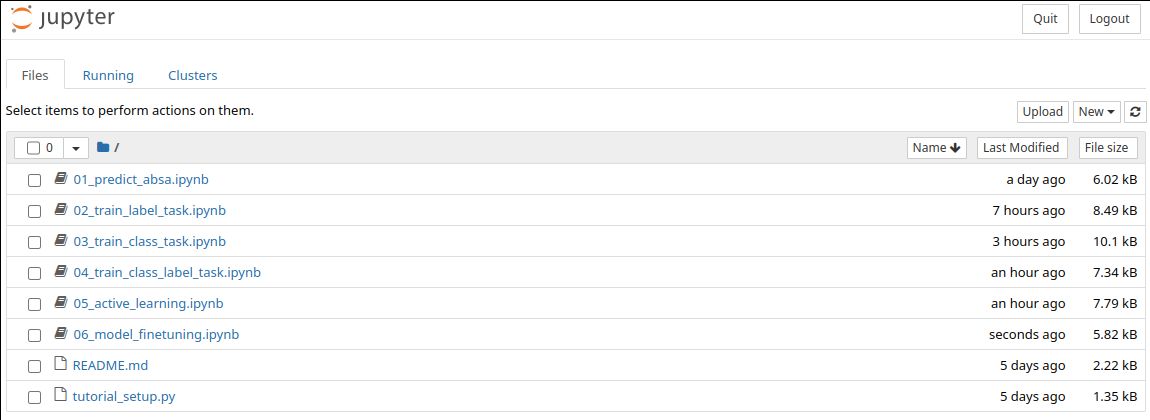
Your browser should now automatically open the file browser of Jupyter. Here you can select the notebooks you want to run: